Bringing an idea from concept to reality is a journey—and for many product developers, that journey starts with a plastic prototype. Whether you’re designing a new consumer product or a functional industrial part, prototyping with plastic is a cost-effective, flexible, and fast way to test ideas and improve performance before full-scale production.
At Hemtom, we specialize in turning your CAD drawings into high-quality prototypes. In this guide, we’ll walk you through the key steps in creating a plastic prototype and help you understand how to choose the right process for your needs.
Step 1: Define the Purpose of Your Prototype
Before jumping into manufacturing, it’s crucial to define why you’re creating a prototype. This will influence the materials, tolerances, and method used.
Form prototypes focus on appearance, dimensions, and aesthetics.
Fit prototypes help assess compatibility with other components or enclosures.
Functional prototypes are used to test performance under real-world conditions.
Knowing your goal helps balance cost and complexity.
Step 2: Start with a 3D CAD Model
Every successful prototype starts with a solid 3D design. CAD (Computer-Aided Design) models give manufacturers like Hemtom the information needed to fabricate your part with accuracy.
File types like STEP (.stp), IGES (.igs), or STL (.stl) are typically used.
Design should include key dimensions, wall thicknesses, and tolerances.
Our team can provide design feedback to ensure your file is optimized for prototyping—especially if you’re new to design-for-manufacturability (DFM).
Step 3: Choose the Right Prototyping Method
There are several plastic prototyping techniques, each with unique advantages. Here are the most common options:
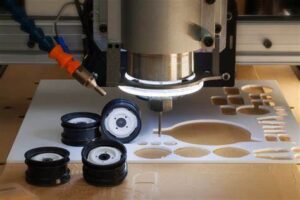
1. CNC Machining
Best for: High-precision parts with tight tolerances.
Material: Real engineering plastics like ABS, PC, Nylon.
Advantages: Accurate, smooth finish, and fast turnaround.
Limitations: Not ideal for complex internal geometries.
CNC is often used for functional prototypes and low-volume production.
2. 3D Printing (Additive Manufacturing)
Best for: Complex shapes, fast iterations.
Types: FDM, SLA, SLS depending on resolution and material needs.
Advantages: No tooling required; very quick for design testing.
Limitations: May not match final product’s mechanical properties.
3D printing is popular during the early stage of development.
3. Vacuum Casting (Urethane Casting)
Best for: Small batches (5–100 units) for appearance or limited testing.
Process: A silicone mold is made from a master model (usually 3D printed), then resin is cast.
Advantages: Cost-effective, mimics injection molding surface and flexibility.
Limitations: Silicone mold degrades after 20–30 uses.
Great for marketing samples or early-stage user feedback.
4. Injection Molding with Soft Tooling (Rapid Tooling)
Best for: Functional testing, pilot production runs.
Tooling: Aluminum or steel mold.
Advantages: Final material performance, ready for real-world testing.
Limitations: Higher upfront cost and longer lead time.
If you’re close to mass production, this option ensures the prototype behaves just like the final part.
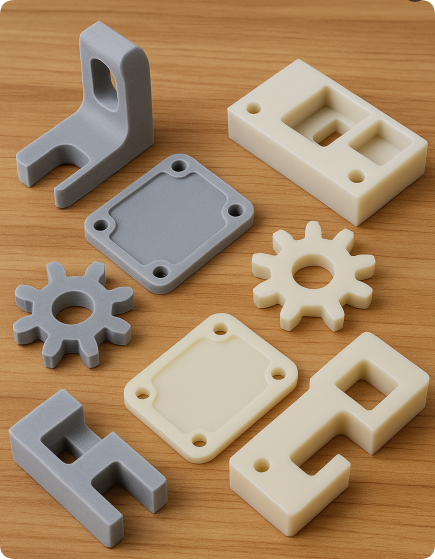
Step 4: Select the Right Material
Material choice depends on both function and aesthetics. Popular plastics include:
ABS – good impact resistance and machinability.
Polycarbonate (PC) – high strength and transparency.
Nylon (PA) – good for mechanical strength and wear resistance.
PP (Polypropylene) – flexible and chemical resistant.
PMMA (Acrylic) – great for optical clarity.
At Hemtom, we’ll help match your design goals to the ideal plastic type.
Step 5: Finish and Test Your Prototype
After fabrication, most plastic prototypes go through finishing processes:
Sanding & polishing – for surface smoothness.
Painting or printing – to match product branding.
Assembly – for fit checks or functional testing.
Testing may include drop tests, stress testing, environmental exposure, or user feedback evaluations. These tests help validate that your prototype performs as expected.
Step 6: Iterate and Refine
Rarely does a product get approved on the first try. Prototyping is an iterative process.
After reviewing feedback, you may need to:
Adjust dimensions
Try a different material
Optimize for manufacturing cost
At Hemtom, we support rapid revisions and ongoing engineering support to make your prototype ready for market.
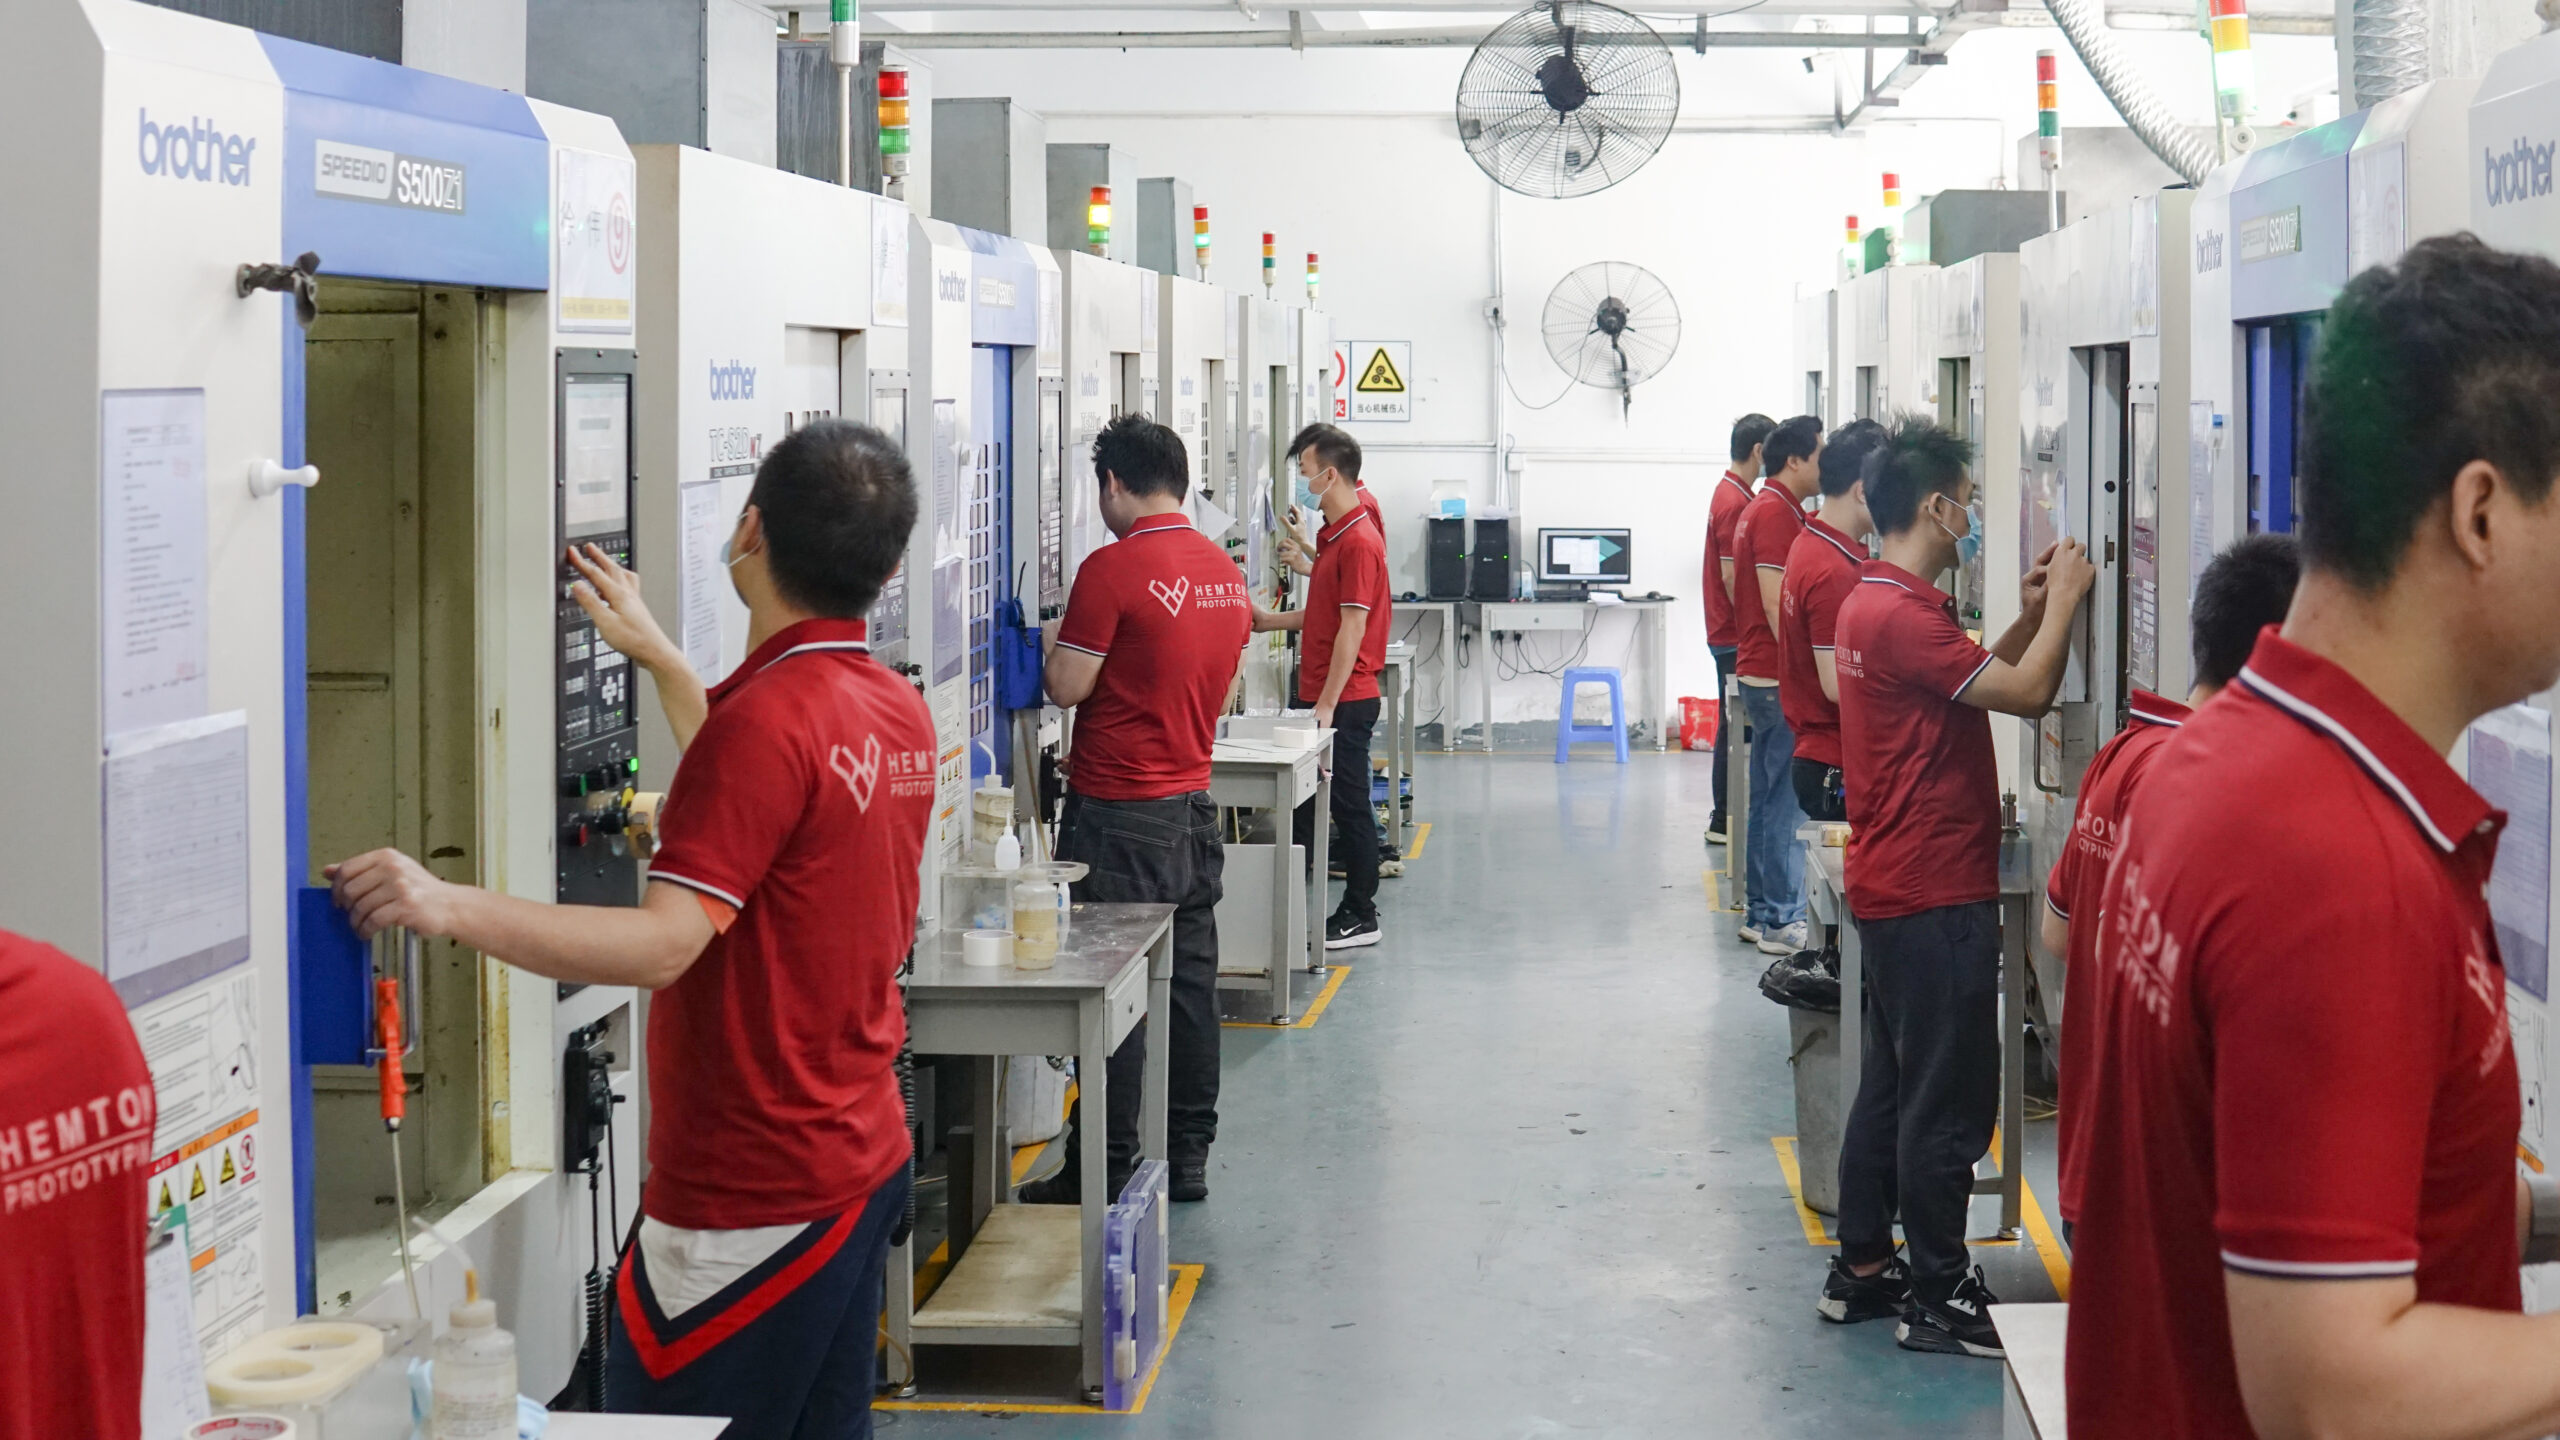
Why Work with Hemtom?
With years of experience in plastic prototyping, Hemtom is your trusted partner for fast, professional, and reliable prototype development. We do not offer internal PCB design or clinical-use medical devices, but we do specialize in high-quality physical validation samples based on your drawings.
Fast lead time, typically within 5–10 days.
Experienced engineers for DFM review.
One-stop manufacturing support for plastic, metal, and assembly.
Conclusion
Creating a plastic prototype is a critical step in launching a successful product. By understanding your purpose, choosing the right method, and partnering with a reliable manufacturer like Hemtom, you can streamline development and accelerate time-to-market.
Need help with your next plastic prototype? Contact Hemtom today to get a quote or free design review.